

Connecting your laptop to your TV can enhance your viewing experience by giving you access to a larger screen for work, entertainment, or presentations. Whether you’re streaming movies, sharing photos, or displaying your laptop’s screen, this guide will show you how to connect your laptop to your TV using different methods.
1. Using an HDMI Cable
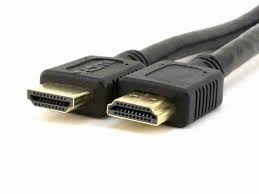
An HDMI cable is the simplest and most common way to connect your laptop to your TV. It supports both video and audio.
Steps:
- Check the Ports: Ensure your laptop and TV both have HDMI ports. Most modern devices include them.
- Connect the Cable: Plug one end of the HDMI cable into your laptop and the other end into your TV.
- Switch Input: Use your TV remote to change the input source to the HDMI port you connected to.
- Configure Display Settings: On your laptop, press
Windows + P(on Windows) or go toSystem Preferences > Displays(on macOS) to select your desired display mode (Duplicate, Extend, or Second Screen Only).
Advantages:
- High-quality video and audio transmission.
- Easy and inexpensive setup.
2. Using Wireless Methods
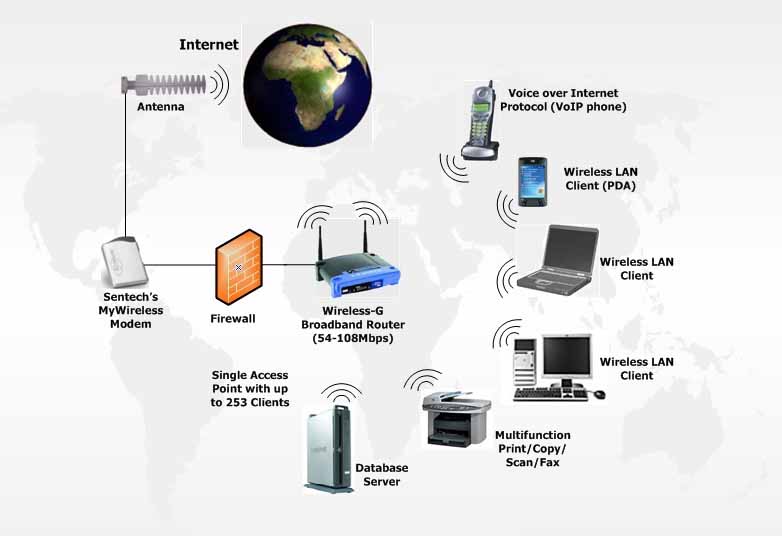
If you prefer a cable-free connection, you can use wireless technologies like Miracast, Chromecast, or AirPlay.
Miracast (For Windows Laptops):
- Ensure your TV supports Miracast. If not, you can use a Miracast adapter.
- On your laptop, press
Windows + Kand select your TV from the list of available devices. - Follow the on-screen instructions to complete the connection.
Chromecast:
- Plug a Chromecast device into your TV and set it up using the Google Home app.
- On your laptop, open Google Chrome and click on the three-dot menu.
- Select Cast, choose your TV, and pick the content or tab you want to display.
AirPlay (For macOS Laptops):
- Ensure your TV supports AirPlay or use an Apple TV device.
- On your Mac, click the AirPlay icon in the menu bar and select your TV.
- Adjust display settings as needed.
Advantages:
- No physical cables needed.
- Supports seamless content sharing.
3. Using a VGA or DVI Cable
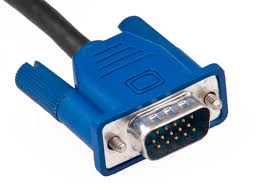
For older laptops and TVs that lack HDMI ports, VGA or DVI cables can be used.
Steps:
- Connect the Cable: Plug the VGA or DVI cable into the corresponding ports on your laptop and TV.
- Audio Connection: Since VGA and DVI do not carry audio signals, connect a 3.5mm audio cable from your laptop’s headphone jack to your TV’s audio input.
- Switch Input: Use your TV remote to select the VGA or DVI input.
- Configure Display Settings: Adjust the display settings on your laptop as described earlier.
Advantages:
- Works with older devices.
- Provides a reliable wired connection.
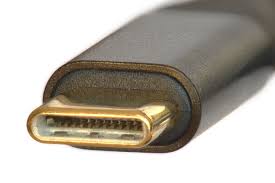
4. Using USB-C to HDMI Adapter
If your laptop has a USB-C port, you can use a USB-C to HDMI adapter to connect it to your TV.
Steps:
- Plug the adapter into your laptop’s USB-C port.
- Connect one end of an HDMI cable to the adapter and the other end to your TV.
- Switch your TV’s input source to the appropriate HDMI port.
Advantages:
- Supports high-quality video and audio.
- Compatible with many modern laptops.
5. Smart TV Apps and Screen Mirroring
If you have a Smart TV, you might not need any additional hardware to connect your laptop.
Steps:
- Open the screen mirroring or casting app on your Smart TV.
- On your laptop, use the compatible app or browser to connect to your TV.
- For example, Windows laptops can use the Connect app, while macOS devices can use AirPlay.
- Follow the prompts to pair the devices and start sharing your screen.
Advantages:
- No additional cables or devices required.
- Quick setup with compatible TVs.
Troubleshooting Tips
- No Signal on TV: Double-check that the correct input source is selected on your TV.
- No Audio: Ensure audio output is set to the TV in your laptop’s sound settings.
- Poor Video Quality: Verify the resolution settings on your laptop and match them to your TV’s resolution capabilities.
FAQs
Q1: What should I do if my laptop doesn’t have an HDMI port?
A: If your laptop lacks an HDMI port, you can use an adapter such as USB-C to HDMI or a Mini DisplayPort to HDMI adapter, depending on your laptop’s available ports.
Q2: Can I connect my laptop to a TV without cables?
A: Yes, you can use wireless options like Miracast, Chromecast, or AirPlay. Ensure your TV supports these technologies or use a compatible device or dongle.
Q3: Why is there no sound on my TV after connecting it to my laptop?
A: Check your laptop’s sound settings to ensure the audio output is set to the TV. You can access this through the sound settings menu on your laptop.
Q4: How can I improve video quality when streaming wirelessly?
A: Ensure your Wi-Fi connection is stable and strong. Close unnecessary applications on your laptop to allocate more resources for streaming.
Q5: Can I use my TV as a second screen?
A: Yes, when using methods like HDMI or wireless casting, you can extend your display settings to use your TV as a second screen for multitasking.
Conclusion
Connecting your laptop to your TV opens up a world of possibilities for entertainment, productivity, and presentations. By following these steps and choosing the method that works best for your devices, you can enjoy a seamless connection in no time. Whether you opt for a wired connection or go wireless, the process is straightforward and user-friendly.